Showing posts with label DIY. Show all posts

November 4, 2016

DIY at the Preacher's House

October went by very fast! Probably because we attended the National Storyteller's Festival and whenever you take a trip away from your normal everyday duties, time just seems to fly by. (I posted a little about the trip here)

Also I was given a chance to be a guest blogger on Elaine Mingus' blog, radicalchristianwoman.com, and you can see my post by clicking here. Elaine had asked for a post on alternative ideas for Halloween. I had told her of a conversation my son and I had when he was 4 or 5 years old and she asked if I could put that in my post.

Now it is November and I'm sure this month will go by just as fast with the holidays approaching us. But that is okay with me because I just found out that our son should be back in the states soon, so the countdown is on!

I thought today I would show you a couple of DIY's that I did last week. 

This little curio type cabinet has been hanging in our garage since we purchased our home in September of 2015. The previous owners had been using it to store tools and paint. It was a little dirty and banged up a bit but I thought maybe I could clean it up and use it.


So after cleaning and scrubbing the oil and dirt off of it, I decided to place it on our gas fireplace and use it to showcase some of our pictures. But I thought it looked a little bland. I saw on a shelf in the garage, a can of blue spray paint so I got an idea. Why not paint the back of the shelves? That would make it pop.

I had to spray the paint into a bowl and used a foam brush. Here is a tip - don't use a foam cup for the spray paint, the foam disintegrated right in my hands and paint went onto the garage floor. I was nervous to explain this to the Preacher but he was okay about it and helped me clean it up. Maybe you already knew that, I think I knew that too but didn't listen to myself.

I love the way it turned out! 

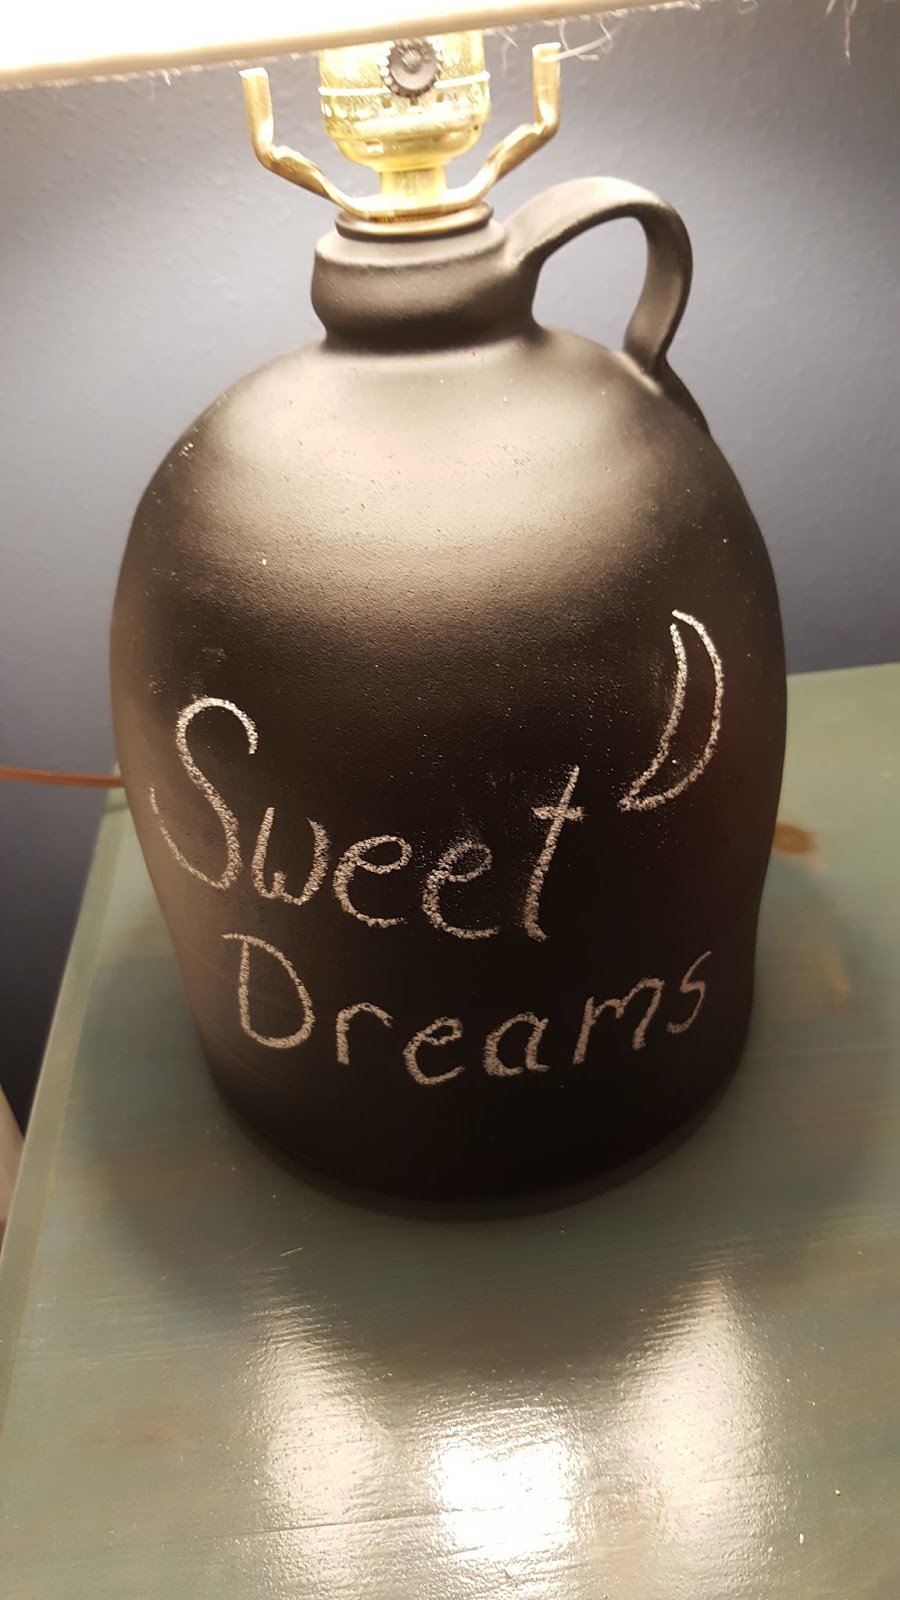
My second project was to transform this lamp.

I have had this lamp for a long time and thought about buying a new one to put in our son's room. But I found lamps can be a little pricey. I remembered I had some left over chalkboard paint and so the light bulb went off in my head. I will spray paint the lamp! 

I roughed up the lamp with some sandpaper and cleaned it up. I then taped off all of the working parts with painter's tape. And then I gave it 3 coats of chalkboard spray paint. Of course, letting it dry in between each coat.

I found a new shade for it at Ikea and I love it! Now you can say whatever you would like to who ever is staying in the bedroom.
I hope you enjoy these very easy DIY tips!

Love from the Preacher and I


August 30, 2014

DIY Project Turns into Chaos


      Why is it that every time I see a project on Pinterest or even on an HGTV type show, I think, “That’s a great idea! “That won’t take long to do, maybe a couple of hours.”


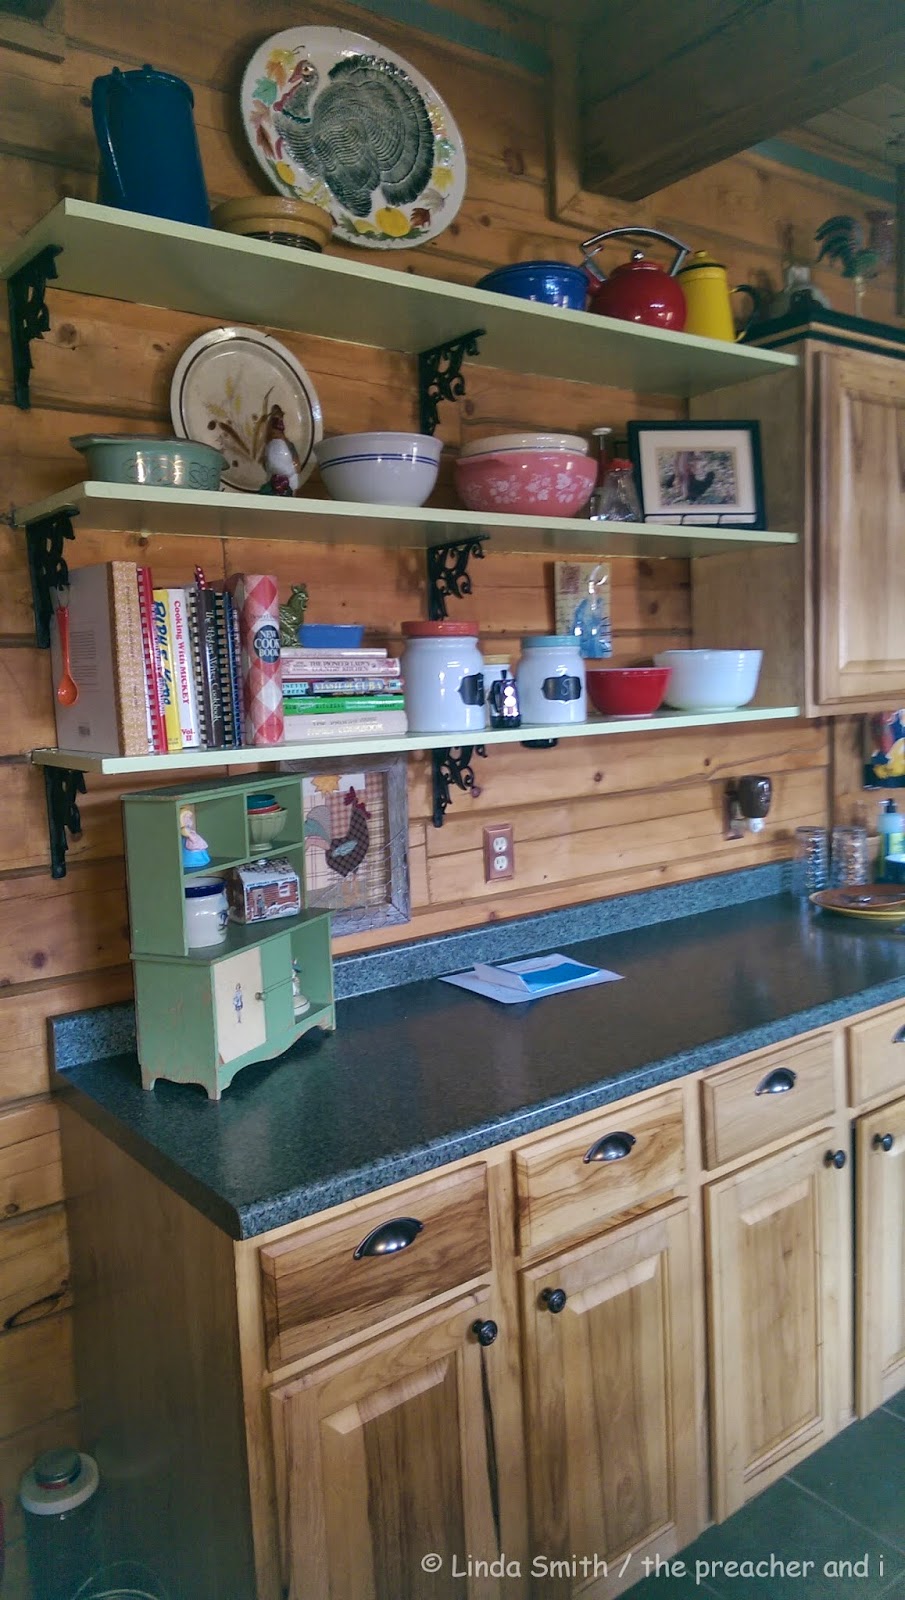
     Well that’s exactly what happened this past week.  For a while now I've been looking at the shelves that are in the kitchen of the preacher and I and I've been thinking that they needed a face-lift. I began searching Pinterest and the website, Houzz.com, for ideas. I finally decided that they needed painted, I needed to add some color to our kitchen.

     So last Monday, I went to the hardware store and bought some paint. Then I took everything off of the shelves and placed everything all over the kitchen bar and table. 


Then I cleaned the shelves. I then discovered that I didn't have any sand paper but I found some steel wool pads. After scrubbing the shelves down with the steel wool, then cleaning them up, I began to apply the first coat. Unfortunately, I was only able to paint the top shelf and a little of the bottom of that same shelf. Something came up and I had to stop.

     Now during all of this, the preacher was not too thrilled with my determination to paint. He really wasn't on board and I could tell he wasn't wanting to help in any way. But I thought that’s okay, I can do this!

     Well the next day I discovered that the paint just began to bubble and shrink! Oh no!, that got me upset, but I was determined to get these shelves painted. So I went back to the hardware store and bought some sandpaper. I sanded all of the shelves really well, this wasn't going to happen again. While I was sanding the preacher was teaching at the local college and when he came home he was not too pleased with the mess I had made.

      During the week the shelves just sat there, not getting a coat of paint on them. That's what happens when you have to work, go to several meetings, and then being so tired at night you just can't do one more thing.

I saw this ecard on facebook this same week and thought what perfect timing to see this.

     On Friday of this week I had had enough of this DIY project.  I just wanted to stay home and get this done, I was tired of the mess in the kitchen! I was tired of the chaos that this project had created in my home. So I began to get upset, the melt-down was happening. Then my sweet preacher told me that he had two meetings that day but he would come home and help me get this project knocked out that day. Yay! I began to feel better, I felt like the end was in sight!

     And we did it! We got the shelves painted (it took four coats). We also decided to pull out some old paint and finish painting the hallway that didn't get done when we painted the kitchen and dining room several months ago. The hallway looks so much better and brighter!

     I love the way the shelves turned out! Now that they are done I've been cleaning and rearranging kitchen drawers. The preacher says “That’s enough, no more!”

     I just can’t help it, when something gets in my head I can’t stop thinking about it until it’s done.

     What DIY projects have you done lately and how did they turn out?

                                                      Love from the Preacher and I


August 8, 2014

DIY Cat Scratching Post

The finished product!


     After three years, our cat Belles, was in desperate need of a new scratching post.

     The preacher and I went shopping for a new one. We checked all of the usual stores, Pet Smart, Wal-Mart, Target, and we checked on line. We couldn't believe the prices! They ranged from $40.00 for a small post, up to $300.00 for a very large, very tall post/house. 

     The preacher and I decided that he could make one for a lot less. After searching for ideas on Pinterest, we had a plan. We had left over lumber, all we needed was the rope and carpet. A local carpet store gave us some scrap carpet and they also loaned us their carpet staple gun for free. A long time ago I had found two drawers from an old desk at an auction and had never found a use for them, until now. The post were left over from when we built our house. I found a ball chain and added some ribbons to it to create a toy. We bought some rope and glue at our local hardware store for $18.00. And that's it! That is all we spent on her new scratching post! I think it's a very nice scratching post for our little Belles!

     Here are a few pictures of the preacher and I building Belles' new scratching post/house.

The planning stages.
I painted the old drawers with some left over paint from another project.

The preacher put E6000 glue on the post and then wrapped and stapled the rope and carpet.

We cut the carpet to fit the top board and the inside of the drawers.
The preacher then stapled the carpet onto the board.
He also drilled screws into the post to attach them to the board and the drawers.

Belles checking out her new post/house.
(We cut a hole in the top drawer.)

The hanging ball chain with ribbon is her favorite part.
Here you can see where we wrapped the carpet and rope onto the post.


the time we have

In April of this year we traveled to Indiana to visit my mother who was living in a nursing home. It had been 5 months since we had seen her...